Structural drying explained in simple terms means removing hidden moisture from a building after a leak, overflow, or flood. A floor can look clean and a wall can feel dry while water remains underneath or behind them. That is why appearance alone cannot tell you whether a room is ready for repairs. Understanding structural drying helps you avoid sealing moisture inside your home and paying twice for the same repair.
This guide explains seven key facts, what the equipment does, and what proof to request before new paint or flooring goes in.
1. Structural Drying Explained: Moisture Beneath the Surface
Think about a thick towel. Its outside may feel dry before the folded middle does. Building materials can behave in a similar way. Air reaches the exposed surface first. Moisture deeper inside has a longer path out.
Drywall has a solid core and paper faces. Wood framing has depth. Flooring may cover padding, adhesive, or a subfloor, which is the supporting layer underneath. Each layer can hold moisture differently. Paint and other finishes can also slow the movement of moisture.
Structural drying addresses those hidden layers. Mopping and water extraction remove accessible liquid water. The next task is to remove moisture absorbed by materials that can safely be saved.
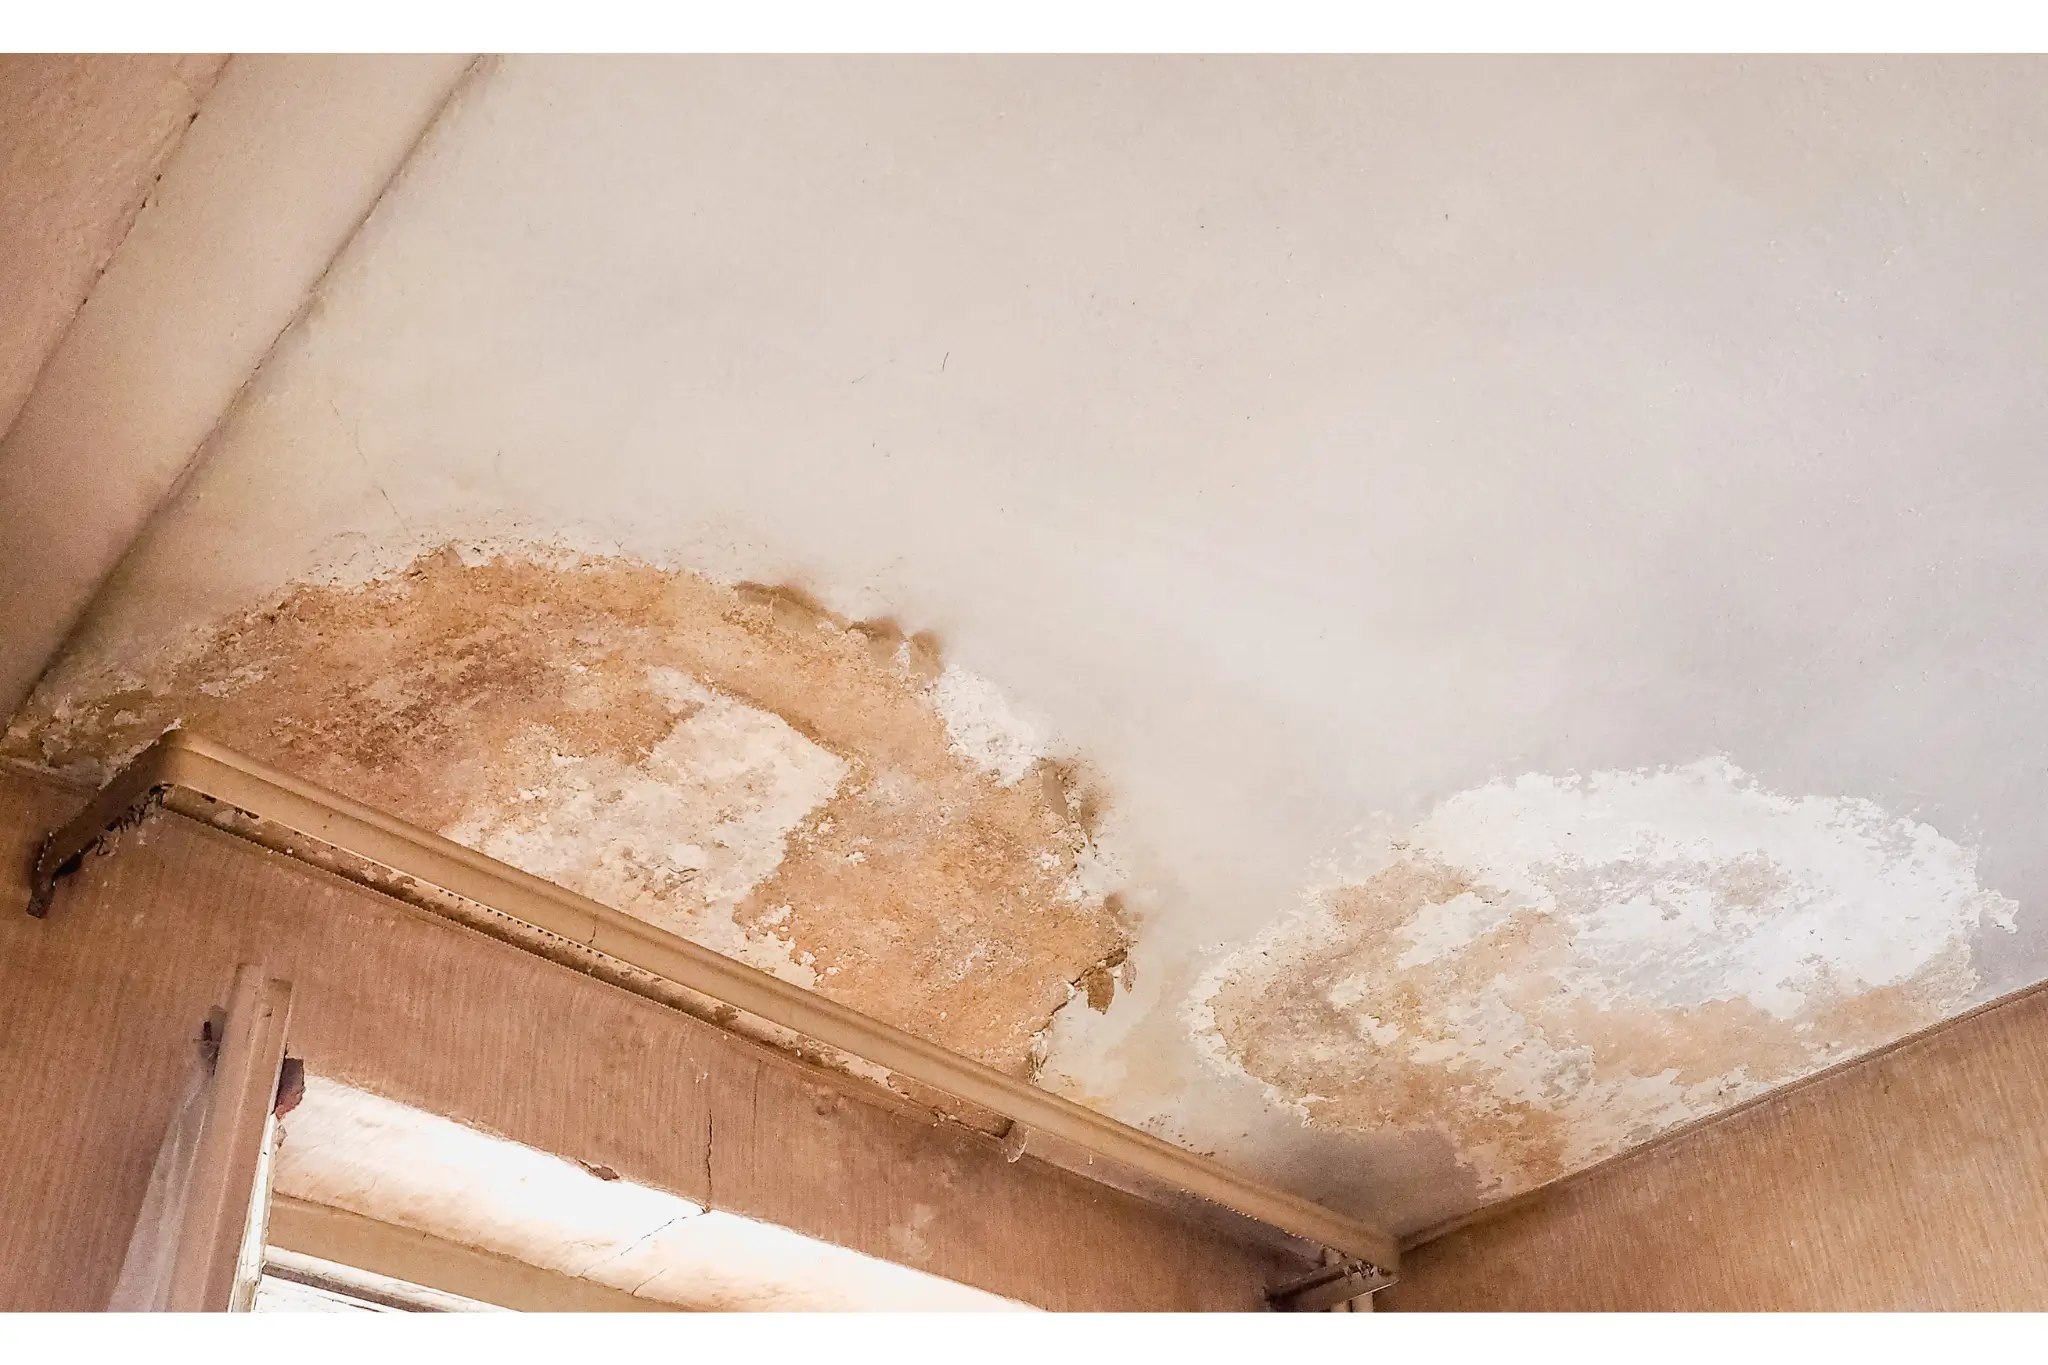
In its guidance on finding hidden moisture, the EPA explains how moisture meters and careful investigation can help locate damp areas. A stain shows where water affected a finish. It does not show the full size or depth of the wet area.
The practical lesson is simple: ask what is behind the surface. A drying plan that checks only the visible wall may miss the framing or floor below it. Structural drying should follow the affected materials, including places you cannot easily see.
2. Structural Drying Explained: Following the Water
Water does not always stay where it first appears. It can run downhill, pass through gaps, and soak into nearby materials. A leak near a dishwasher may reach beneath cabinets. Water from an upstairs bathroom may travel through a ceiling before appearing downstairs.
Picture a supply hose leaking behind a washing machine. This is an example, not a report from a specific job. The homeowner wipes up the laundry room and sees no puddle the next morning. But water may have reached the wall base and the flooring in the next room.
Structural drying starts with finding that spread. A moisture map is a record of where materials are wet. It gives the team a way to check the same locations as work continues.
Describe the whole event during the inspection. Explain when you discovered the water, where it appeared, and whether anyone already cleaned up. Photos taken before cleanup can help show what the room looked like at the start.
A/S General Contracting’s guide to hidden water damage signs explains warning clues such as swelling, changing floor shapes, and lasting odors. These clues deserve attention, but none replaces measurements. Structural drying needs a clear picture of the affected area before equipment placement makes sense.
3. Structural Drying Explained: Air Movement and Moisture Removal
A fan moves air. It does not collect water. As wet materials release moisture into the air, that moisture needs somewhere to go. Otherwise, the room can become humid and drying can slow.
Air movers help moisture leave exposed materials. Dehumidifiers remove water vapor from the air. Water vapor is water in its gas form. Together, these tools help create conditions that support structural drying.
More machines do not automatically mean better results. Equipment must suit the room, the affected materials, and the amount of moisture. A closed wall cavity may need access or specialized methods. A fan aimed at a painted wall cannot reach every hidden layer.
Opening windows is also a judgment call. Outside air may help when conditions are suitable. Damp outside air can work against a controlled drying setup. Ask the team which doors and windows should stay open or closed.
The ANSI/IICRC S500 water damage restoration standard covers drying technology, inspections, equipment, and project documentation. These are connected parts of the work. Structural drying depends on checking results and adjusting the setup, rather than simply counting how many fans are running.
If standing water remains, professional water extraction may be needed first. Removing accessible water gives structural drying a better starting point.
4. Structural Drying Explained: Measuring Progress
Your hand mainly checks the surface. A room humidity reading checks the air. Neither tells the whole story about moisture inside a floor or wall. Structural drying requires attention to the materials themselves.
Moisture meters help with this task. Some use pins that contact the material. Others scan without pins. Their readings have limits and must be interpreted for the material and tool being used. A number without that context can be misleading.
Thermal cameras can help locate temperature patterns that deserve checking. They do not see water directly. A cool patch could have another cause, so it needs further investigation before anyone calls it wet.
A useful question is, “What are you comparing this reading with?” Depending on the material, the team may compare affected areas with similar unaffected materials. The goal should also account for the requirements of any planned finish or flooring.
The EPA’s flood cleanup and drying guidance recommends checking materials with a moisture meter before refinishing. It also warns against closing flooded cavities or applying finishes before the materials are dry inside.
For structural drying, ask for readings tied to locations, dates, and material types. A record showing how an area changed is more useful than “It feels fine.” The final decision should explain why the drying goal has been reached.
5. Structural Drying Explained: What Drying Cannot Repair
Removing moisture and repairing damage are related tasks, but they are different. Structural drying can remove water from suitable materials. It cannot automatically restore a damaged material’s original shape, strength, or cleanliness.
For example, a cabinet panel may stay swollen after drying. Drywall may lose firmness or separate at its paper face. A floor covering may no longer bond properly. Dry does not always mean reusable.
Two decisions therefore matter: can this material be dried, and should it remain? The answer depends on its condition, the water source, access, and whether safe cleaning and drying are possible.
The EPA’s mold and moisture guide recommends drying water-damaged areas and items within 24 to 48 hours to help prevent mold. Treat that as an urgent prevention goal. It is not a promise that every hidden assembly will dry within two days.
Existing mold needs evaluation and appropriate cleanup. Structural drying alone is not mold removal. Sewage or contaminated floodwater also changes the cleanup plan. Do not aim household fans at visible mold or begin disturbing contaminated materials yourself.
When damaged wall materials need replacement, drywall water damage repair may be part of the next stage. Complete structural drying of the materials being kept before closing the affected space.
6. Structural Drying Explained: Why Timelines Vary
A small stain does not always mean a quick job. The size of the visible mark may tell you little about moisture behind it. An exposed surface may dry faster than a layered floor or an enclosed wall.
Structural drying timelines depend on what got wet, how deeply water soaked in, how soon work began, and how easily moisture can escape. Ongoing leaks can also erase progress. The water source needs to be stopped and corrected.
Suppose a bedroom wall dries steadily while a nearby cabinet base changes very little. This example suggests a question: is the cabinet area harder to reach, or is water still entering? It does not automatically prove either answer.
The value of regular checks is that they show where to investigate next. Structural drying should respond to the readings. A slow area may need different equipment placement, more access, or a review of the original moisture source.
Ask for an estimated timeline and an explanation of what could change it. If the estimate changes, ask which findings caused the change. This makes the conversation more useful than demanding a fixed finish date before hidden conditions are known.
Keep the agreed equipment setup running as directed. If noise, heat, or access becomes a problem, contact the team. Switching equipment off without discussing it can interrupt structural drying and make progress harder to judge.
7. Structural Drying Explained: Checking Before Repairs
New paint, trim, and flooring make a room look finished. They also cover places where moisture could remain. The best time to ask for proof is before those layers go back.
Before approving repairs, ask four questions. Which materials were wet? Which were removed or kept? What drying goal was used for the kept materials? What final readings support the decision to rebuild?
For flooring, add another question: does the supporting surface meet the installation requirements for this product and adhesive? Concrete and flooring systems may require specific testing. A general room reading should not replace the installer’s required checks.
Think of structural drying records as the handoff between cleanup and repairs. They help the next worker understand what happened and what was checked. They also give you a record to keep alongside photographs, estimates, and invoices.
A useful way to judge the work is to separate three milestones: the puddle is gone, the materials have reached their drying goals, and the damage has been repaired. These milestones can happen on different days. Knowing which one you have reached prevents a tidy room from being mistaken for a completed restoration.
Structural drying is complete when the evidence supports that decision. A fresh coat of paint cannot provide that evidence.
Structural Drying Explained: Common Questions
Can a room smell normal and still need structural drying?
Yes. A lack of odor does not prove hidden materials are dry. The leak history and moisture checks matter more than smell alone.
Does structural drying always require opening walls?
No. Some materials can be dried in place. Others need openings or removal because moisture is trapped, damage is serious, or cleaning is required. Ask what finding supports the proposed approach.
Can structural drying save every floor?
No. Drying may help preserve suitable materials, but damaged flooring may still need replacement. The floor covering and supporting layers need separate evaluation.
Structural Drying Explained With Help From A/S General Contracting
A/S General Contracting provides structural drying services in San Diego, including moisture inspections, drying equipment, and progress monitoring. Its published process includes checking affected materials and adjusting the plan as drying progresses.
If your room looks dry after water damage, ask what is happening underneath. Request an evaluation before covering the affected area. Structural drying gives repairs a sound starting point: materials that have been checked, a clear plan, and evidence that it is time to move forward.