When a pipe bursts or a storm damages your roof, you may hear two words right away: mitigation and restoration. They sound similar, but they answer different questions. In simple terms, mitigation limits the damage that is happening now. Restoration repairs the damage and helps put your property back in use.
Understanding mitigation vs restoration can help you make better decisions during a stressful week. You can see why a crew may remove water before discussing new flooring, or cover a broken window before planning wall repairs. The work often overlaps, but the order matters. Here are seven steps that show how the process works and what you can ask along the way.
1. Mitigation vs restoration starts with two different goals
Mitigation means taking steps to keep a loss from getting worse. After a water leak, that could mean stopping the leak, removing standing water, moving wet items, and drying the building. After a fire, it could mean securing an opening so rain and unwanted visitors cannot get inside. The first goal is to protect people and the property.
Restoration is the work that follows to repair what was damaged. It may include replacing drywall, repairing flooring, removing smoke residue, painting, or rebuilding part of a room. The goal is to make the space usable again. Some items can be cleaned and saved; others need to be replaced. The right choice depends on what happened and how far the damage reached.
A helpful way to remember mitigation vs restoration is to picture a leaking ceiling. Putting a bucket under the drip limits damage, but it does not repair the ceiling. Fixing the leak and drying the space protect the home. Replacing damaged drywall and finishing the ceiling bring the room back. Each action has a purpose.
2. Make the property safe before work begins
Safety comes first in mitigation vs restoration. A wet floor near an outlet, a ceiling that may fall, or a strong gas smell changes what you should do next. Keep people away from the affected area. Do not enter standing water to reach a breaker, and do not use electrical equipment that got wet. The CDC’s guidance on reentering a flooded home explains these hazards and when to call an electrician.
Once it is safe, the first actions depend on the cause. A plumber may need to stop a broken pipe. A damaged opening may need a temporary cover. A water damage crew may need to remove standing water. If you need help with an active leak or flooding, A/S General Contracting describes its emergency water damage services and water extraction services.
Do not assume every wet area is safe to clean yourself. Water from an overflowing sink is different from water that may contain sewage. A team needs to know where the water came from before choosing how to handle wet materials. That early assessment shapes both the mitigation plan and the later restoration work.
3. Find out how far the damage spread
The visible stain is rarely the whole story. Water can travel behind baseboards, under flooring, and into nearby rooms. Smoke can settle in places far from the flames. A useful mitigation vs restoration plan starts with finding the affected areas, recording what is found, and checking whether the source of damage has been stopped.
For example, imagine that a pipe leaks behind a bathroom wall. The bedroom on the other side looks fine, but its baseboard feels damp. If the crew repairs only the bathroom, moisture in the bedroom may remain. An inspection helps answer a better question: What needs attention now so the later repairs will last? A/S General Contracting’s guide to when to get a water damage inspection explains why the less obvious signs matter.
Ask the crew to show you which areas are affected and explain how they checked. You can also ask which materials they expect to save, which may need removal, and what could change once a wall or floor is opened. Clear answers make it easier to understand the scope of work and avoid surprises.
4. Control the damage while repairs are being planned
With water damage, mitigation often includes removing water, taking out materials that cannot be saved, and drying the structure. Drying the air alone may not be enough if moisture is trapped inside a wall or beneath a floor. That is why structural drying can be an important step before new materials go in.
Speed matters, but it is not a reason to skip careful checks. The U.S. Environmental Protection Agency’s flood cleanup guidance says to dry wet areas promptly and to make sure flooded wall spaces are dry before sealing them. A room can look ready for paint while material inside the wall is still damp.
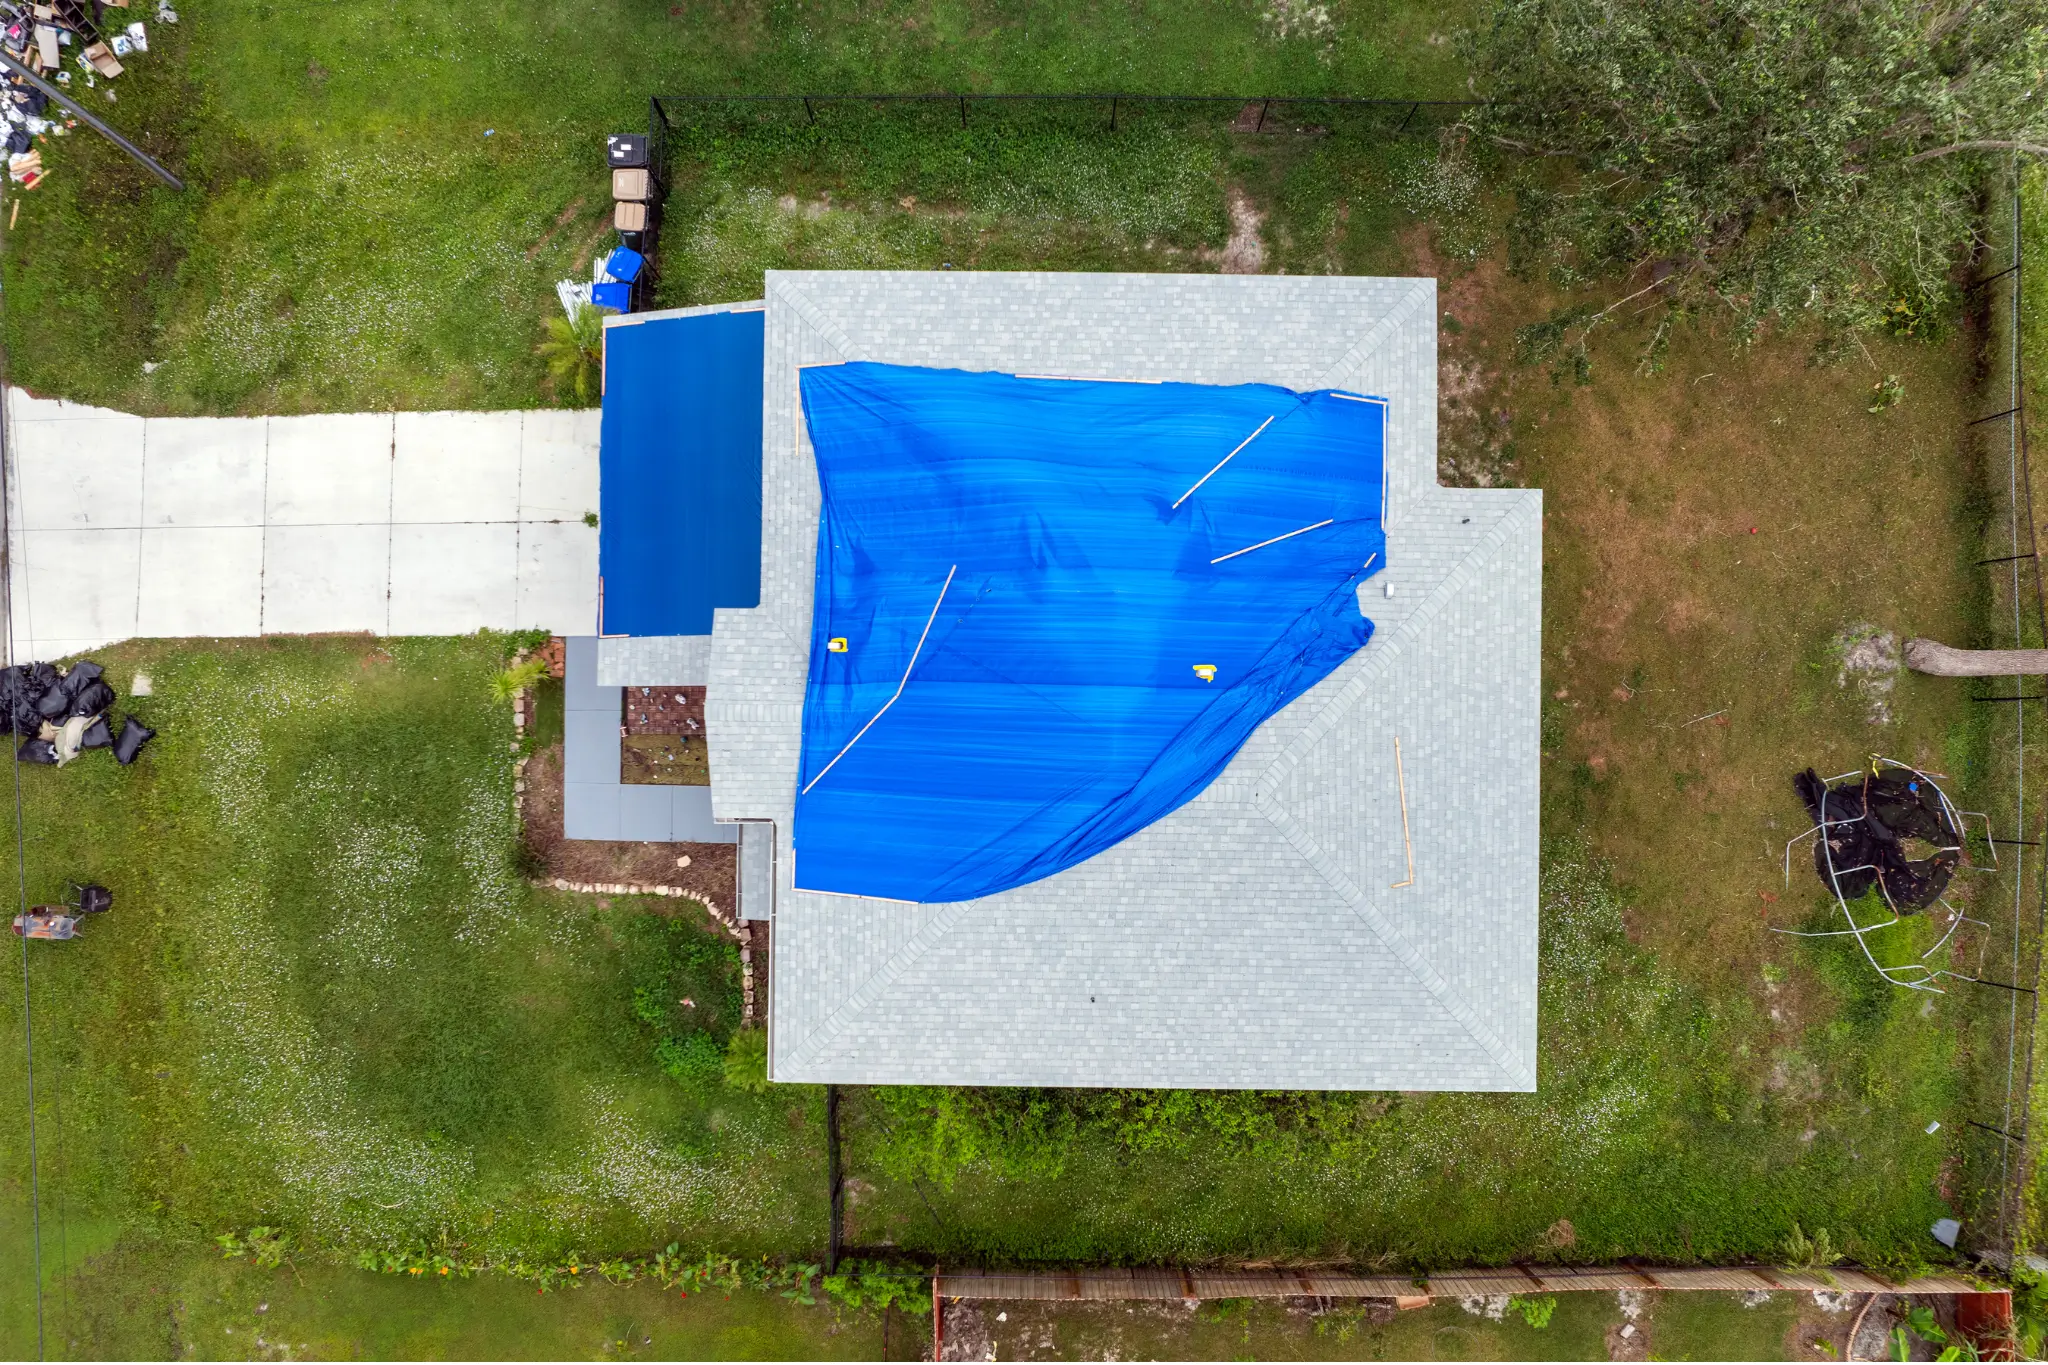
Mitigation vs restoration also applies after a storm or fire. Covering a roof opening or boarding up a damaged window helps keep new rain out while permanent repairs are planned. The California Department of Insurance’s residential property claims guide recommends reasonable temporary steps to protect a property from further damage. A/S General Contracting lists board-up services for damaged openings.
Here is the practical lesson: the first crew visit may leave your room looking less finished. Wet drywall might be removed, fans may be running, or an opening may have a temporary cover. Those steps can feel like a setback. They are often what makes a sound repair possible.
5. Check the handoff from mitigation to restoration
People often expect a clear day when mitigation ends and restoration begins. In real projects, the handoff can be gradual. A crew may discover another wet area while removing damaged drywall. A repair plan may also become clearer only after surfaces are opened. That is normal, but each change should be explained.
Before rebuilding starts, ask what shows that the problem is under control. Has the leak been fixed? Have affected areas been checked for remaining moisture? Has contaminated material, if present, been handled? Does the repair plan cover the damage found during cleanup? These questions turn mitigation vs restoration from a confusing label into a useful way to track progress.
Think about a kitchen with water under the cabinets. New cabinet doors would improve how the room looks, but they would not solve moisture under the flooring. A careful handoff checks the hidden area before closing it up. If damaged wall material needs replacement, drywall water damage repair belongs in the repair plan after the cause and moisture have been addressed.
6. Restore the room in the right order
Restoration may be small or extensive. A limited leak might call for a section of drywall and paint. A larger loss could involve flooring, cabinets, ceilings, and other building parts. Fire damage can require cleaning as well as repairs. The point of restoration is to deal with the actual damage, including what was found during mitigation.
Good sequencing saves rework. Fix the source first. Remove damaged material when needed. Confirm the area is ready for repair. Then install and finish replacement materials. Painting over a stain before checking for moisture may hide the sign that something is still wrong. Restoring a room well means paying attention to what is behind the finished surface.
For a fire loss, the path may include securing the property, assessing smoke and soot, cleaning affected areas, and repairing damaged building materials. A/S General Contracting outlines its fire damage restoration services. The exact work should follow an assessment of your property; two homes affected by the same fire can need different repairs.
7. Keep a record of both phases
Take photos when it is safe, and keep a simple record of the damage, the work done, and the dates. Save receipts for temporary materials and ask for written descriptions of proposed work. If you file an insurance claim, tell your insurer what happened and ask about its documentation requirements. Coverage depends on your policy and the cause of the loss, so avoid assuming that every mitigation or restoration cost will be covered.
It helps to ask for the two phases to be explained in plain language. Which work is meant to stop more damage? Which work will repair the property? Who will tell you if the scope changes? Written estimates and progress notes can make those conversations much easier. A/S General Contracting also provides information about its insurance claim support.
Keep the record even if the loss seems small. A photo of a wet baseboard, a note about when the leak stopped, and a receipt for a temporary cover can help you remember what happened weeks later. You should also keep the final repair paperwork so you know what was replaced and where work was done.
Mitigation vs restoration: common questions
Can one company handle both mitigation vs restoration work?
Sometimes, yes. What matters most is that the company can explain who is responsible for each part, how the work will be documented, and when repairs can begin. If different teams are involved, ask how they will share findings. The repair team needs to know what was removed and what remains affected.
Does mitigation vs restoration mean every damaged item gets replaced?
No. Some materials can be cleaned or dried, while others cannot be safely or fully restored. The answer depends on the material, the source of the damage, and how long it was affected. Ask why a specific item is being saved or removed. A clear reason is more helpful than a blanket rule.
When can restoration begin?
Restoration can begin when the work area is safe and the conditions that could damage new materials have been addressed. That timing varies. A broken window may be replaced soon after the opening is secured. A flooded wall may need more time for cleanup and drying. Ask what checks must be completed before the next repair step.
Know what each step is meant to solve
The simplest answer to mitigation vs restoration is this: mitigation helps stop a problem from spreading, and restoration repairs what the problem damaged. You need both when a loss has affected your property. Skipping the first phase can put new repairs at risk. Skipping the second leaves you with a safe but unfinished space.
If you are dealing with water, fire, or storm damage in the San Diego area, start by describing what happened and what is still changing. A/S General Contracting can assess the affected areas and explain the next steps. Ask what needs immediate attention, what must be checked before repairs, and what the finished work will include. Those answers give you a clear path from the first emergency step to a usable room again.