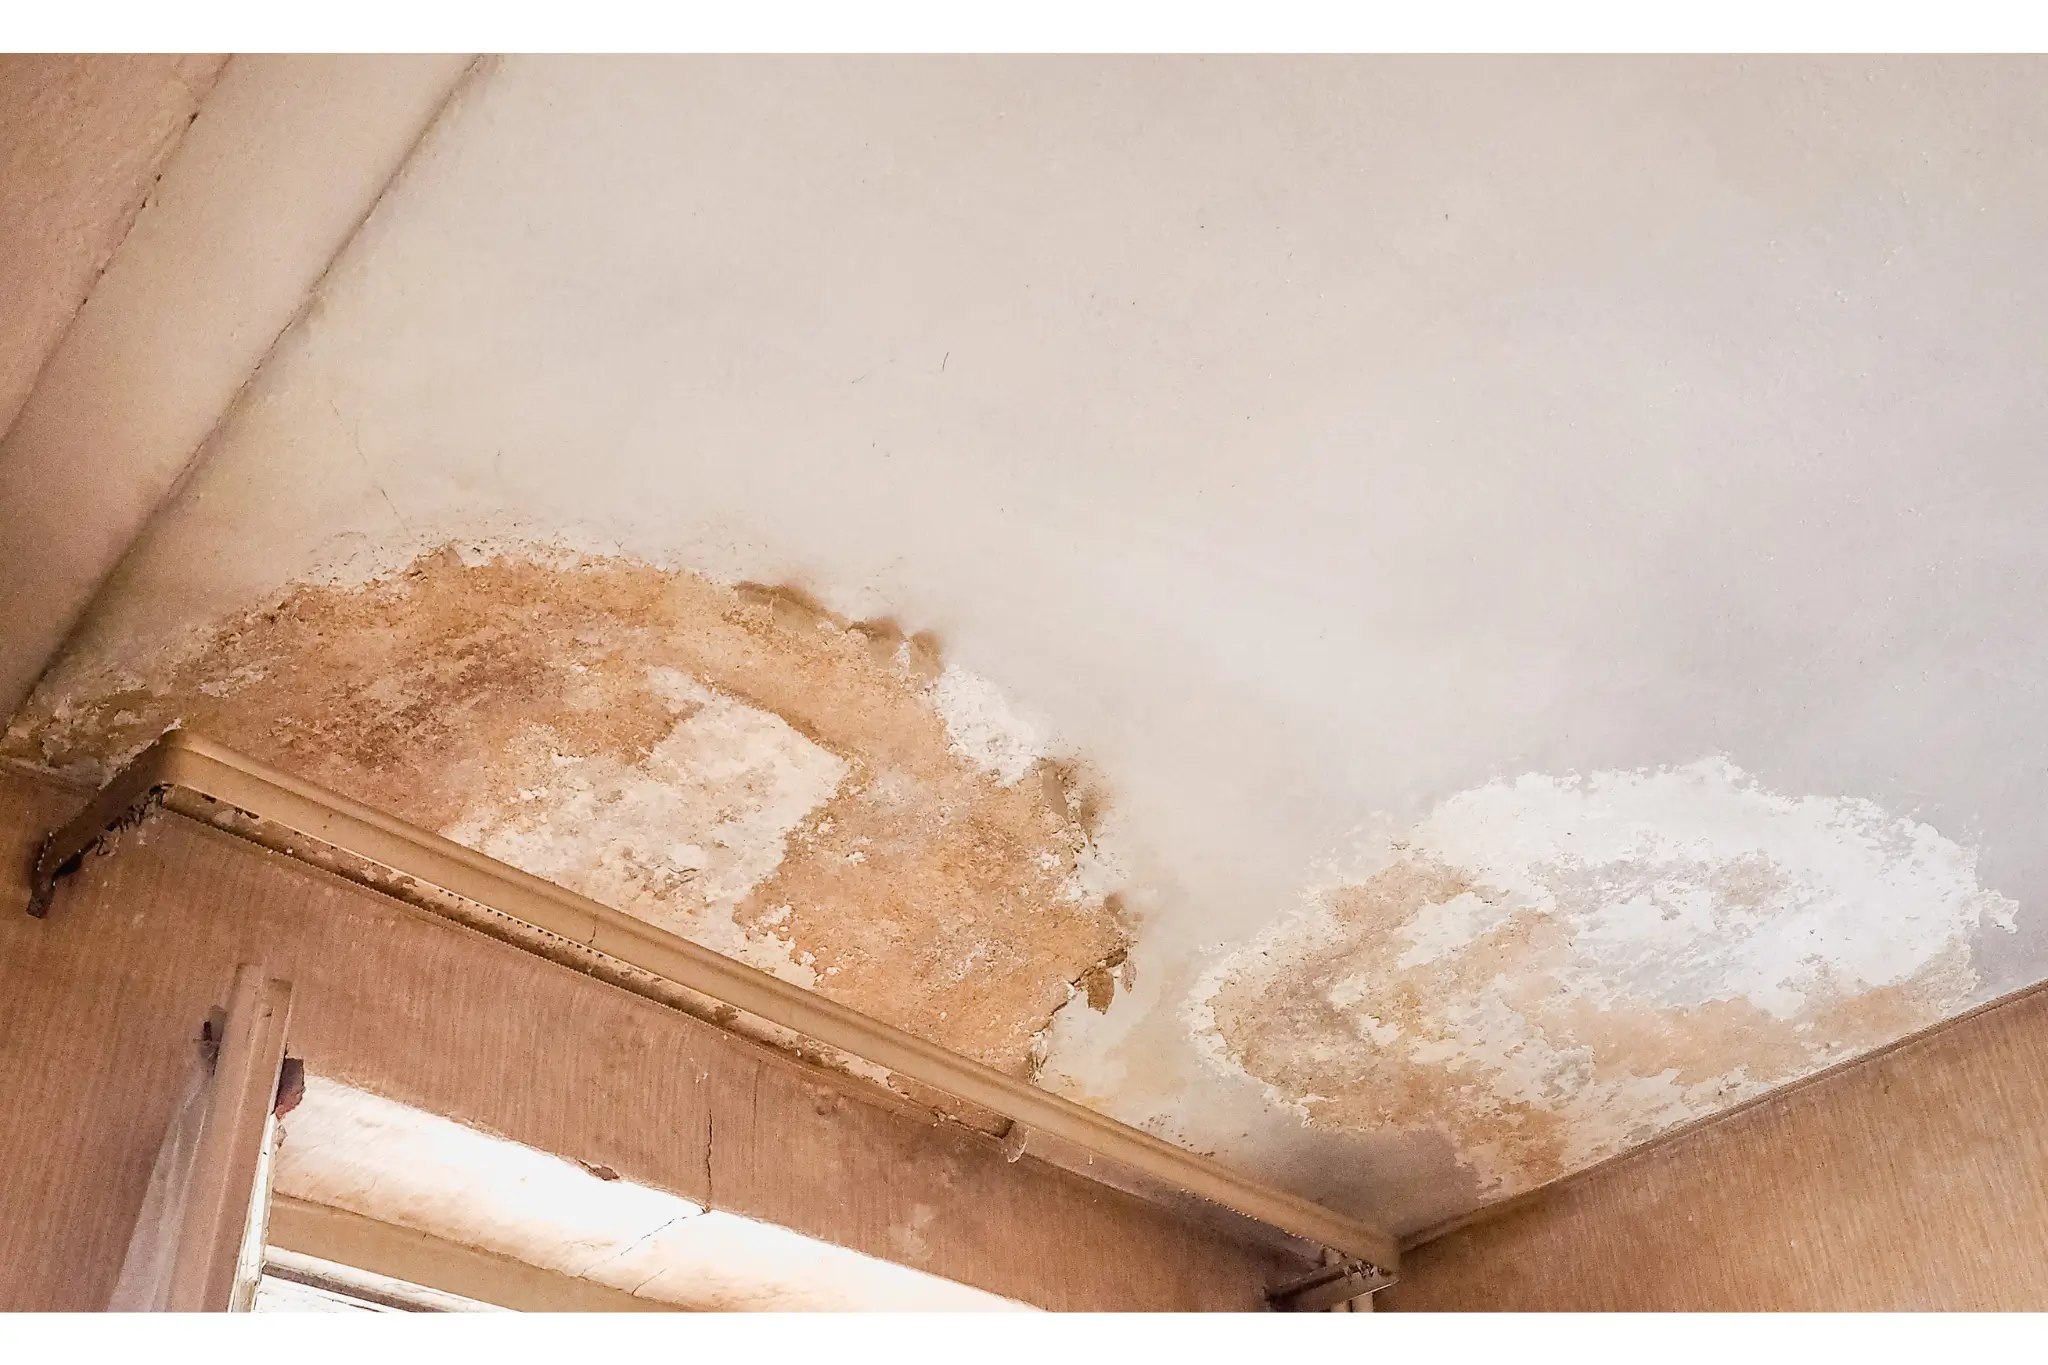
You look up and see a wet spot. Then a drop falls. A few seconds later, another one follows. When water is leaking from the ceiling, it is easy to panic. However, the choices you make during the first few minutes can protect your family and limit the damage.
A ceiling leak is more than a surface problem. Water may already be spreading through insulation, drywall, wood framing, and electrical areas. The leak you can see may also be several feet away from the true source. That is why you need to act quickly without making the situation more dangerous.
This guide explains seven steps to follow when water is leaking from the ceiling. You will learn how to protect the room, slow the flow, identify possible causes, document the damage, and know when professional help is needed.
Why Water Is Leaking From the Ceiling Can Be Dangerous
When water is leaking from the ceiling, the drywall above you can become heavy and weak. Drywall is made with a soft gypsum center covered by paper. It can absorb water, lose strength, and eventually break apart.
A small stain does not always mean the damage is small. Water can travel along pipes, roof supports, floor joists, and electrical wires before it reaches an opening. The visible drip may be the final stop in a much larger moisture path.
A sagging ceiling is especially serious. The bulge may contain water or soaked insulation. The American Red Cross guidance for checking a damaged home warns that a wet, sagging ceiling can become heavy and dangerous.
Keep children, pets, and other people out of the affected area. Do not stand under a bubble, crack, or sagging section. If the ceiling begins making cracking sounds, leave the room immediately.
Step 1: Stay Safe When Water Is Leaking From the Ceiling
Your first job is not to save the paint or furniture. Your first job is to keep everyone safe. Move away from the wet part of the ceiling and check whether water is near a light, fan, smoke detector, outlet, or other electrical device.
Do not touch a wet switch, fixture, wire, or appliance. Water can carry electricity. If you can safely reach the electrical panel without walking through water, turn off power to the affected room. If the panel or path to it is wet, stay away and call an electrician or emergency professional.
Next, look at the shape of the ceiling. A flat stain may be less urgent than a growing bubble, but both require attention. If water is leaking from the ceiling and the surface is sagging, cracking, or dropping pieces, leave the room and close the door.
Do not climb into a wet attic during a storm. Roof decking may be slippery, and damaged areas may not support your weight. Never climb onto a wet roof to search for a leak.
Step 2: Catch the Water and Protect the Room
If it is safe to enter the room, place a bucket or deep plastic container under the drip. Put an old towel beneath the container to catch splashes. Move furniture, electronics, rugs, clothing, and other items away from the wet area.
Use plastic sheeting to cover large furniture that cannot be moved. Check the bucket often. A leak that looks slow can suddenly become much faster when trapped water finds a wider opening.
Some advice online tells homeowners to puncture a ceiling bubble right away. That can release trapped water, but it can also cause wet drywall or insulation to fall. If the area is large, close to electricity, or making cracking sounds, do not touch it. Wait for a trained professional.
If water is leaking from the ceiling but the drywall remains flat and firm, collecting the drips may limit damage while help is on the way. It does not fix the cause, but it can protect flooring and belongings.
Step 3: Stop the Water at Its Source
The fastest way to limit damage is to stop the water. Start by thinking about what is directly above the leak. Is there a bathroom, laundry room, kitchen, water heater, attic, or roof?
If water is leaking from the ceiling below a bathroom, stop using the sink, toilet, shower, and tub. An overflowing fixture, failed supply line, loose drain, or damaged pipe may be responsible. If the leak continues, shut off the nearest fixture valve or the home’s main water supply.
If the leak began while a washing machine, dishwasher, air conditioner, or water heater was running, turn off that appliance only if you can do so safely. Shut off its water valve when possible.
If you cannot identify or reach the source, arrange professional water leak repair. A trained team can trace moisture through the building instead of guessing based only on the location of the stain.
What if the ceiling starts leaking during rain?
If water is leaking from the ceiling only during rain, the source may be damaged roofing, flashing, vents, gutters, windows, or exterior walls. Wind can push rain beneath materials that normally stay dry.
Do not assume the roof opening is directly above the drip. Water may enter near a vent, travel down a roof support, and appear in another room. Note when the leak begins, which direction the rain is coming from, and how long the dripping continues after the storm stops. These details can help narrow the search.
Step 4: Document That Water Is Leaking From the Ceiling
Take photos and short videos before moving or removing damaged materials, as long as the room is safe. Capture the active drip, ceiling stain, damaged belongings, wet flooring, and the room as a whole.
Write down when you first noticed the problem. Record what was happening at the time, such as heavy rain, a running shower, or an active washing machine. Note every step you took to stop or control the water.
Keep receipts for buckets, tarps, emergency service, temporary lodging, drying equipment, and repairs. If you plan to file a claim, contact your insurer promptly and ask what documentation it requires. Coverage depends on the policy and the cause of the loss.
A/S General Contracting also offers property damage insurance claim support to help organize moisture readings, photographs, damage details, and repair information. Good records can make the cause and timeline easier to explain.
Step 5: Find Out Why Water Is Leaking From the Ceiling
A ceiling leak can have several causes. Finding the correct one matters because replacing drywall without stopping the source will only hide the problem for a short time.
Plumbing pipes and supply lines
A loose fitting, frozen pipe, worn supply line, or cracked drain can release water above the ceiling. A supply-line leak may continue even when no fixture is running. A drain leak may appear only when a sink, tub, shower, or toilet is used.
Roof and flashing damage
Missing shingles, cracked roof tiles, worn seals, or damaged flashing can let rain enter the attic. Flashing is the thin material that seals areas around vents, chimneys, and roof edges. Small failures can send water far from the original opening.
Air-conditioning problems
An air conditioner can create ceiling leaks when its drain line clogs or its drain pan overflows. Condensation may also form on a poorly insulated duct. If water is leaking from the ceiling near an attic air-conditioning unit, stop using the system until it is checked.
Upper-floor fixtures and appliances
An overflowing bathtub, leaking toilet seal, failed dishwasher hose, or washing machine problem can soak the floor and ceiling below. In condos and apartments, the source may be inside the unit above yours or within a shared plumbing line.
Hidden moisture from an older leak
Sometimes water is leaking from the ceiling because an older problem was never fully dried. Damp insulation and wood can hold water long after the visible dripping stops. New stains, peeling paint, soft drywall, or a musty smell may point to trapped moisture.
Step 6: Dry More Than the Visible Surface
Stopping the drip is only half the job. The ceiling cavity, insulation, framing, walls, and flooring may still be wet. A room can look dry while moisture remains inside materials.
Open windows only when outdoor conditions are dry and safe. Do not aim household fans into areas that may contain mold or contaminated water because air movement could spread particles. Professional drying normally uses moisture meters, air movers, dehumidifiers, and repeated readings.
The goal is not to run equipment for a set number of hours. The goal is to confirm that affected materials have reached a safe moisture level. Professional structural drying services can locate moisture that is not visible and track how the materials respond.
The EPA’s mold and moisture guide recommends drying wet or damp areas within 24 to 48 hours when possible. Fast action lowers the chance that mold will grow, but every property and leak is different.
If water is leaking from the ceiling from a sewage line, roof runoff containing debris, or another contaminated source, avoid contact with the water. Porous materials may need to be removed instead of simply dried.
Step 7: Repair the Ceiling Only After It Is Dry
Do not paint over a stain as soon as the dripping stops. Paint can hide a warning sign while wet material remains above it. It may also blister, peel, or trap moisture.
A proper repair begins with confirming that the water source is fixed. Damaged drywall and insulation are then evaluated. Materials that have lost strength, become contaminated, or developed mold may need to be removed.
After the space is dry and safe, the ceiling can be rebuilt, textured, primed, and painted. Professional ceiling water damage repair should address both the visible finish and the hidden materials above it.
This order matters. We often see that the most expensive mistake is repairing the appearance before proving that the moisture problem is solved. A fresh ceiling is not a successful repair if the same stain returns during the next rain or plumbing cycle.
Signs That Water Is Leaking From the Ceiling Behind the Surface
Not every leak creates an obvious drip. Watch for yellow or brown rings, bubbling paint, peeling texture, soft drywall, rusty fasteners, damp odors, or a ceiling that looks uneven.
Listen for faint dripping after a shower or appliance cycle. Compare the stain after rain. You can place a small pencil mark at the edge of a dry stain to see whether it grows, but do not press on weakened drywall.
If water is leaking from the ceiling without a clear source, moisture detection may be needed. A professional can compare moisture readings across the ceiling and nearby walls. This helps avoid cutting open a large area based on a guess.
When Water Is Leaking From the Ceiling, Is Mold Likely?
Mold does not appear after every leak, but its risk increases when materials remain damp. Ceiling drywall, insulation, dust, and wood can all provide places for mold to grow.
A musty smell, dark spotting, recurring discoloration, or past water damage may justify a professional mold inspection. Mold can grow on the back of drywall or above ceiling materials where you cannot see it.
Do not paint over mold or spray chemicals into a closed ceiling. The moisture source must be corrected, damaged material must be evaluated, and the affected space must be dried. Treating only the visible spot does not solve hidden growth.
When Water Is Leaking From the Ceiling, Call for Emergency Help
Get urgent help if the ceiling is sagging, cracking, or dropping material. You should also call when water is near electricity, the flow will not stop, several rooms are affected, or the leak involves contaminated water.
Professional help is also important when you cannot safely reach the shutoff, do not know the source, or suspect water has spread through insulation and framing. A/S General Contracting provides 24/7 emergency water damage services for active leaks and sudden water losses.
When water is leaking from the ceiling, quick action can prevent a wet spot from becoming a collapsed ceiling, mold problem, or multi-room repair. Stay away from electrical hazards, control the water when it is safe, document what happened, and make sure the hidden space is fully dry before rebuilding.