When water damage strikes your San Diego home, knowing the right emergency water removal steps can mean the difference between minor repairs and major reconstruction. Every minute counts when dealing with water emergencies, and having a clear action plan helps you protect your family, preserve your belongings, and minimize long-term damage to your property.
A/S General Contracting has responded to thousands of water emergencies across San Diego County, and we’ve seen how proper emergency water removal steps in the first few hours dramatically reduce restoration costs and time. Whether you’re dealing with a burst pipe, roof leak, or flooding from heavy rains, these seven essential steps will guide you through the critical first hours of water damage response.
Understanding these emergency water removal steps before you need them is crucial because water damage spreads quickly through building materials. The longer water sits in your home, the more extensive the damage becomes, and the higher your restoration costs will be. Let’s walk through each step so you’re prepared for any water emergency.
Step 1: Ensure Safety First Before Beginning Water Removal
The first and most important of all emergency water removal steps involves protecting your safety and that of your family. Water and electricity create deadly combinations, so never enter areas with standing water until you’ve confirmed the electrical power is safely shut off.
According to FEMA’s flood safety guidelines, you should turn off electricity and gas before entering flooded areas. If your circuit breaker box is in a dry location, turn off power to affected areas. If the electrical panel is in a flooded area, call your utility company or an emergency electrician to shut off power safely.
These emergency water removal steps for safety also include wearing appropriate protective equipment. Put on rubber boots, waterproof gloves, and eye protection before entering water-damaged areas. If the water might contain sewage or other contaminants, also wear an N-95 respirator mask to protect yourself from harmful bacteria and fumes.
Never use regular household electrical equipment in wet areas. Avoid using standard vacuum cleaners, hair dryers, or other electrical appliances until the area is completely dry and electrical systems have been inspected by professionals. A/S General Contracting emphasizes safety in every emergency water removal response because protecting people is always more important than protecting property.
If you smell gas, leave the area immediately and call your gas company from a safe location. Gas leaks combined with water damage create extremely dangerous situations that require immediate professional response.
Step 2: Stop the Water Source Immediately
The second crucial step in emergency water removal involves stopping the source of water intrusion as quickly as possible. You can’t effectively remove water while it continues flowing into your home, so identifying and stopping the source is essential for successful water damage mitigation.
For plumbing-related emergencies, locate your main water shutoff valve and turn it off completely. Every family member should know where this valve is located and how to operate it. If you can’t locate the main shutoff, call your water utility company for assistance while beginning other emergency water removal steps.
Roof leaks require different approaches depending on the weather conditions. If it’s safe to do so, place tarps or plastic sheeting over damaged areas to prevent additional water entry. However, don’t attempt roof work during storms or if you’re not experienced with ladder safety. Professional storm damage restoration services can provide emergency roof protection.
These emergency water removal steps for source control might involve multiple actions depending on your situation. Windows and doors may need temporary sealing, HVAC systems might need to be shut off, and appliances like water heaters or washing machines may need disconnection.
Document the water source with photos before making repairs, as this information will be important for insurance claims. Take pictures showing where water is entering, what caused the problem, and the extent of damage before you begin emergency water removal activities.
Step 3: Remove Standing Water as Quickly as Possible
Once safety is secured and the water source is controlled, the next critical step in emergency water removal focuses on extracting standing water from your home. Speed is essential because every hour water remains in contact with building materials increases the damage and potential for mold growth.
For small amounts of water, towels, mops, and buckets can be effective. However, significant water accumulation requires more powerful equipment. Wet-dry shop vacuums work well for moderate amounts of standing water, but larger floods need professional-grade extraction equipment.
The FEMA water removal guidelines recommend starting with the most severely affected areas first. Focus your emergency water removal efforts on areas where water is deepest or where it threatens valuable items or building systems.
Don’t forget about water trapped in wall cavities, under flooring, or in other hidden spaces. Professional water extraction equipment includes moisture meters and thermal imaging cameras that can detect hidden water that might be missed during emergency water removal attempts.
If you’re dealing with more than a few inches of standing water, consider calling A/S General Contracting immediately for professional emergency water removal services. Our industrial-grade extraction equipment can remove large volumes of water quickly, reducing the overall damage to your home.
Remember that different types of water require different emergency water removal approaches. Clean water from supply lines can be extracted with standard equipment, but sewage backups or flood water containing contaminants require specialized handling and disposal procedures.
Step 4: Document Everything for Insurance Claims
Before you remove or throw away damaged items, comprehensive documentation is one of the most important emergency water removal steps for protecting your financial interests. Insurance companies require detailed evidence of damage to process claims effectively.
Take photographs and videos of every affected area before beginning cleanup activities. Capture wide shots showing the overall extent of damage, as well as close-up images of specific damaged items. Include pictures of water levels on walls, damaged furniture, and any structural damage you can observe.
The National Flood Insurance Program recommends recording serial numbers from damaged electronics and appliances as part of emergency water removal documentation. This information helps prove your losses and supports your insurance claim.
Make detailed lists of damaged items, including descriptions, approximate age, and estimated replacement costs. Keep receipts for any emergency water removal equipment you purchase or services you hire immediately after the damage occurs.
Contact your insurance company as soon as possible to report the claim and start the adjustment process. Many companies have 24-hour claim reporting hotlines for emergencies. A/S General Contracting provides insurance claim support to help homeowners navigate this process and maximize their coverage.
Don’t throw away damaged items until your insurance adjuster has had a chance to inspect them, unless they pose immediate health or safety risks. Your insurance company will provide guidance on what can be discarded during emergency water removal activities.
Step 5: Begin Structural Drying and Dehumidification
After removing standing water, the next phase of emergency water removal steps focuses on drying building materials and contents that absorbed moisture. This process is critical for preventing mold growth and additional structural damage.
Open windows and doors if weather conditions permit to increase air circulation. Set up fans to move air across wet surfaces, but make sure electrical equipment is plugged into GFCI-protected outlets or use battery-powered fans in areas where electrical safety is questionable.
Professional-grade dehumidifiers remove moisture from the air much more effectively than household units. These emergency water removal steps require maintaining specific temperature and humidity conditions to achieve proper drying without causing additional damage to materials.
Different building materials require different drying approaches. Hardwood floors may need special attention to prevent cupping or crowning, while drywall and insulation often require removal if they’ve been saturated. The IICRC S500 standards provide detailed guidance for proper structural drying procedures.
Monitor the drying process with moisture meters if available, or call professionals for assessment. A/S General Contracting uses advanced structural drying equipment and monitoring systems to ensure complete moisture removal from building materials.
Don’t rely on visual inspection alone to determine when materials are dry. Hidden moisture can remain in wall cavities, under flooring, or within thick materials long after surfaces appear dry. Professional moisture detection is often necessary to complete emergency water removal effectively.
Step 6: Remove Damaged Materials and Contents
One of the most challenging emergency water removal steps involves deciding what can be saved and what must be discarded. Porous materials that have been saturated with water often cannot be effectively cleaned and dried, especially if contamination is involved.
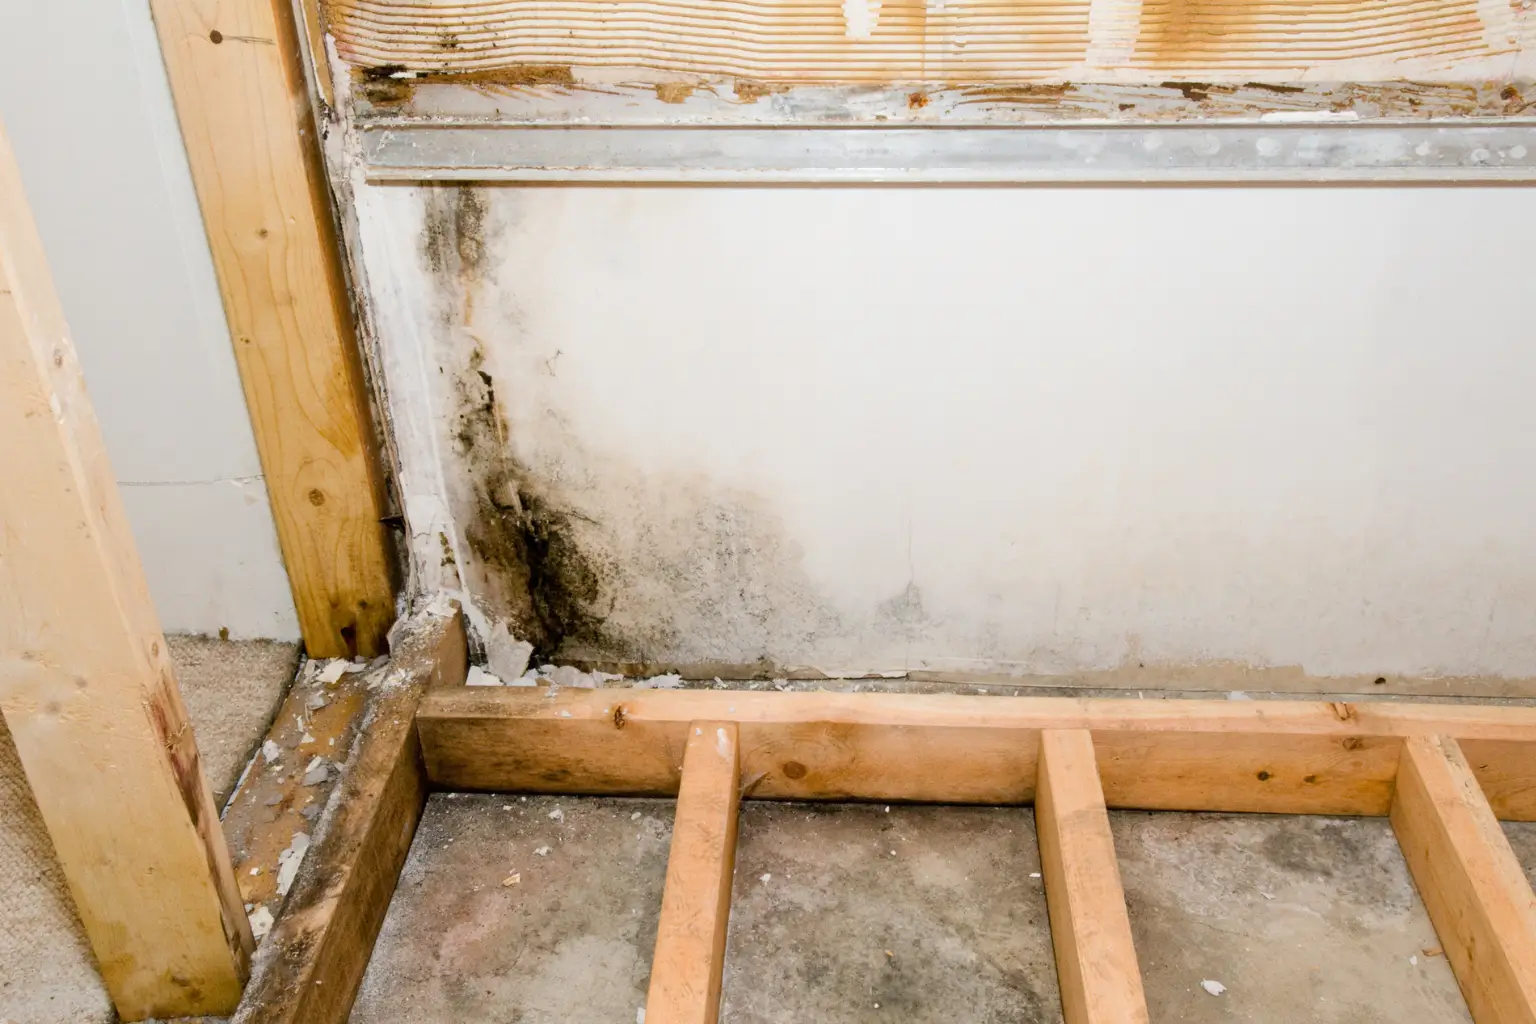
According to EPA mold prevention guidelines, materials that cannot be dried within 24-48 hours should be removed and discarded to prevent mold growth. This includes carpet padding, insulation, drywall, and upholstered furniture that has been severely water damaged.
These emergency water removal steps for content and material removal require careful planning. Work systematically through affected areas, removing the most severely damaged items first. Be especially cautious with materials that may contain asbestos or other hazardous substances in older homes.
Separate salvageable items from those that must be discarded. Items that can potentially be restored should be moved to dry areas immediately and cleaned according to appropriate procedures. Professional contents restoration services can often save items that appear heavily damaged.
Proper disposal is important for both health and environmental reasons. Water-damaged materials may need special handling, especially if they contain mold or have been contaminated with sewage. Check with local waste management authorities about proper disposal procedures for water-damaged materials.
Don’t attempt to clean or restore valuable items yourself unless you’re certain about the proper procedures. A/S General Contracting works with specialized contents restoration companies that can handle everything from water-damaged furniture to important documents and photographs.
Step 7: Call Professional Water Damage Restoration Services
While the previous emergency water removal steps can help minimize immediate damage, professional restoration services are often necessary to completely address water damage and prevent long-term problems. Knowing when to call professionals is a crucial part of effective emergency response.
Contact professional restoration services immediately if you’re dealing with more than a small, localized water issue. Situations that definitely require professional emergency water removal include sewage backups, extensive flooding, structural damage, or any situation where electrical systems may be affected.
Professional restoration companies have specialized equipment that far exceeds what homeowners can access. Industrial dehumidifiers, truck-mounted extraction systems, thermal imaging cameras, and moisture monitoring equipment are essential for thorough emergency water removal and drying.
A/S General Contracting provides 24/7 emergency response for water damage situations throughout San Diego County. Our certified technicians follow established emergency water removal steps and industry standards to ensure complete restoration and prevent secondary damage like mold growth.
Professional services also include coordination with insurance companies, proper documentation of damage, and comprehensive restoration that brings your home back to pre-damage condition. We handle everything from initial flood damage restoration through final repairs and cleanup.
Don’t wait to call for help if you’re overwhelmed by the extent of damage or unsure about proper procedures. Early professional intervention often reduces overall restoration costs and ensures that hidden damage doesn’t create problems later.
Remember that these emergency water removal steps are just the beginning of the restoration process. Complete recovery often takes days or weeks, depending on the extent of damage and the materials involved. Professional restoration ensures that everything is done correctly and completely.
When water damage strikes your San Diego home, quick action following these emergency water removal steps can save thousands of dollars in repairs and prevent long-term problems like mold growth and structural damage. However, don’t hesitate to call A/S General Contracting for professional assistance when you need it.
Our experienced team has handled every type of water emergency and can guide you through the entire restoration process. Contact us 24/7 at (858) 567-0146 for immediate emergency water removal services and comprehensive restoration that brings your home back to normal as quickly as possible.